
Hype Train Advanced
Prerequisites
Section titled “Prerequisites”- Streamer.bot - https://streamer.bot
- StreamElements - https://streamelements.com (optional)
How to Install
Section titled “How to Install”Unzip HypeTrainAdvanced.zip and verify it contains the following files:
- index.html
- script.js
- style.css
- fields.json (this is only needed for StreamElements hosting)
StreamElements
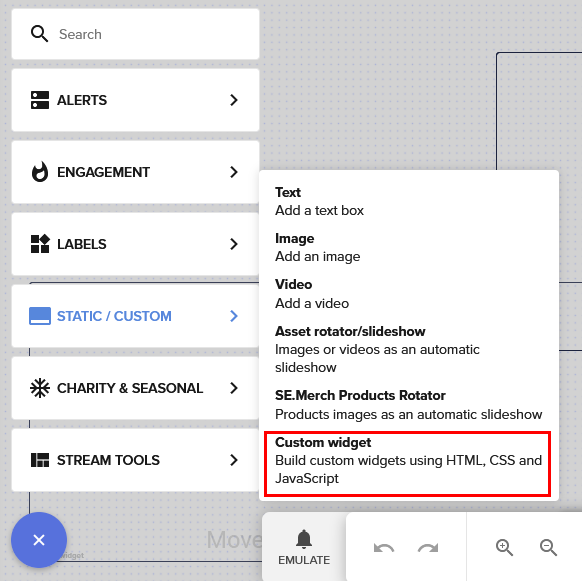
Section titled “StreamElements”- Within an overlay, create a new custom widget.
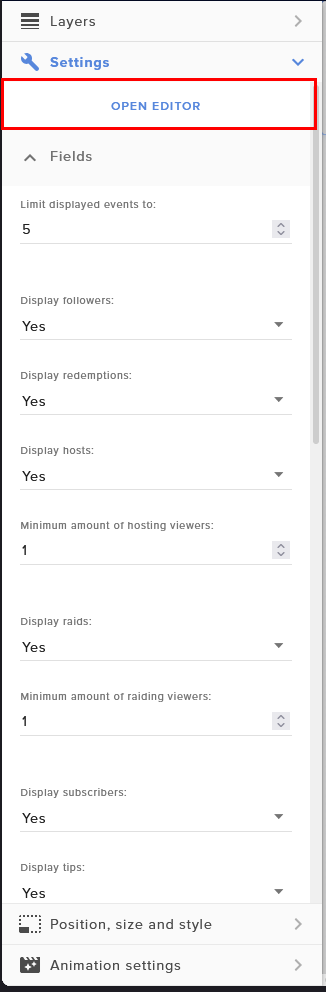
- Open the widget editor
-
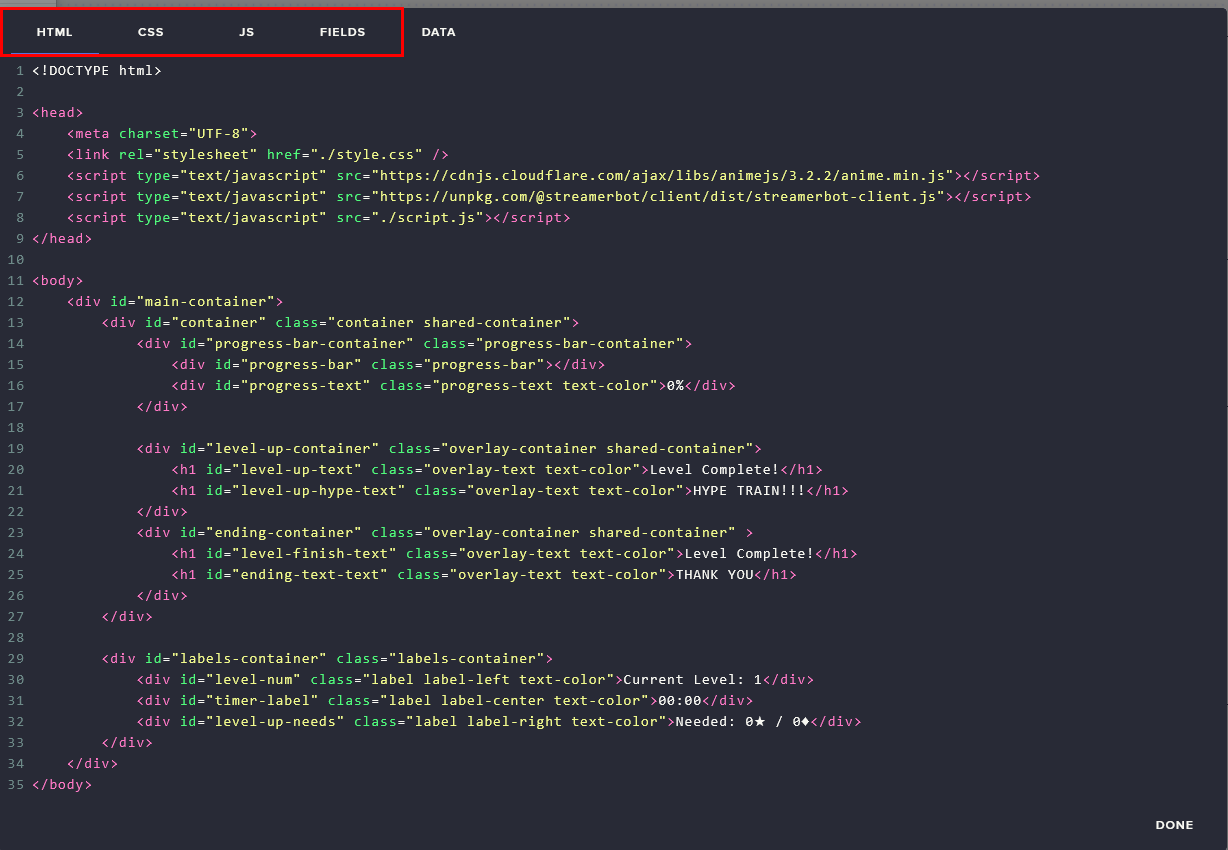
Copy / paste the contents of the four files into their respective tabs in StreamElements
- index.html ⇒ HTML
- style.css ⇒ CSS
- script.js ⇒ JS
- fields.json ⇒ FIELDS
-
Click done when the copy / pasting has been completed. If successful, you should now be presented with three settings groups.
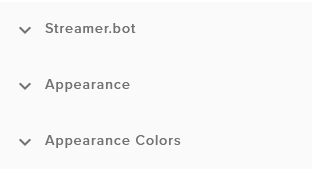
- The groups are organized as such
- Streamer.bot - overall settings for the Streamerbot connection. E.g. IP, port, debug showing the widget
- Appearance - General display / behavior modifications. Showing a pulsate effect in the last 30s of a hype train. If the time remaining should show milliseconds. Desired font / font color.
- Appearance Colors - Selecting desired colors for different parts of the widget to fit your branding.
Local Hosting
Section titled “Local Hosting”⚠️ This method is more advanced and nuanced. If this method is elected, I’m going to assume you know what you are doing in some regard. E.g. Know how to edit CSS and have a base level web frontend experience.
- Unzip HypeTrainAdvanced.zip and verify it contains the following files:
- index.html
- script.js
- style.css
- Ensure these files are in the same folder and reachable by your OBS instance.
- Create a new browser source in desired scene(s) and click the “Local File” checkbox
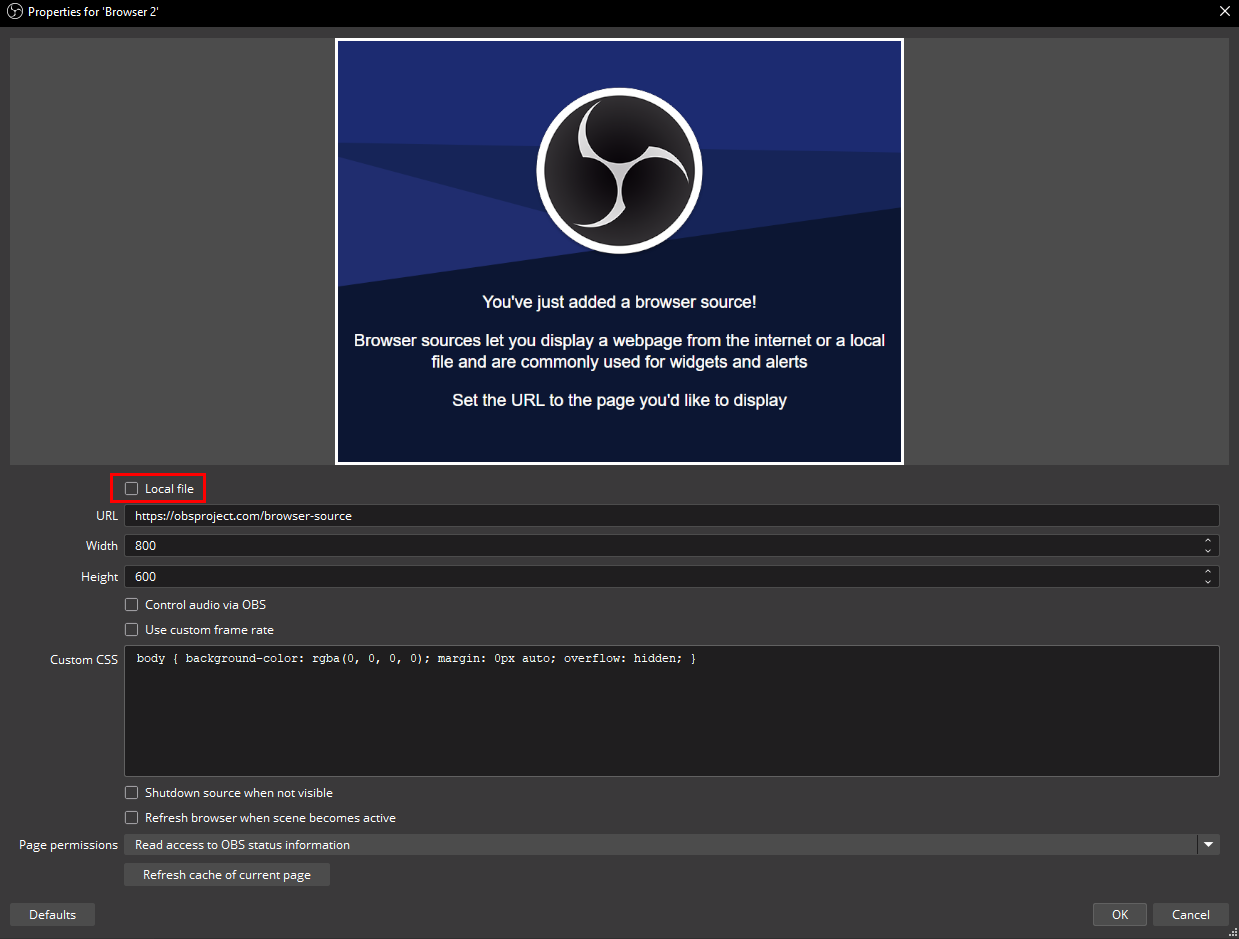
- Use the Browse button to set the file path to the “index.html” file
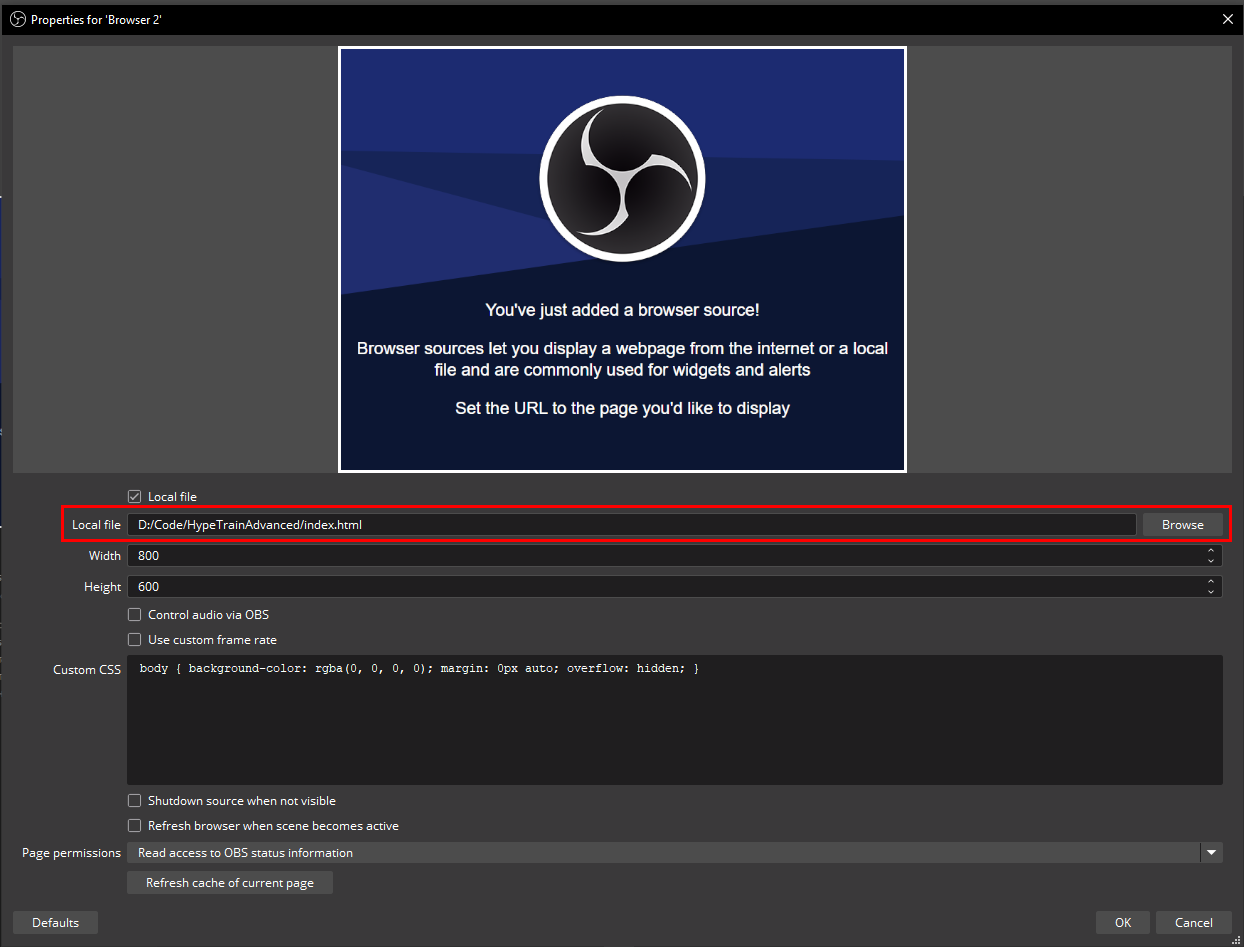
- The width and height should be a fairly horizontal aspect ratio to fit the contents.
- Customization can be done via the style.css
Support / Help / Etc
Section titled “Support / Help / Etc”- Join the Discord
- Make a post under 『❔』support channel
- Or make a ticket under 『🎫』open-a-ticket